A DIY Diary: Quarantine Edition
Stencil me in
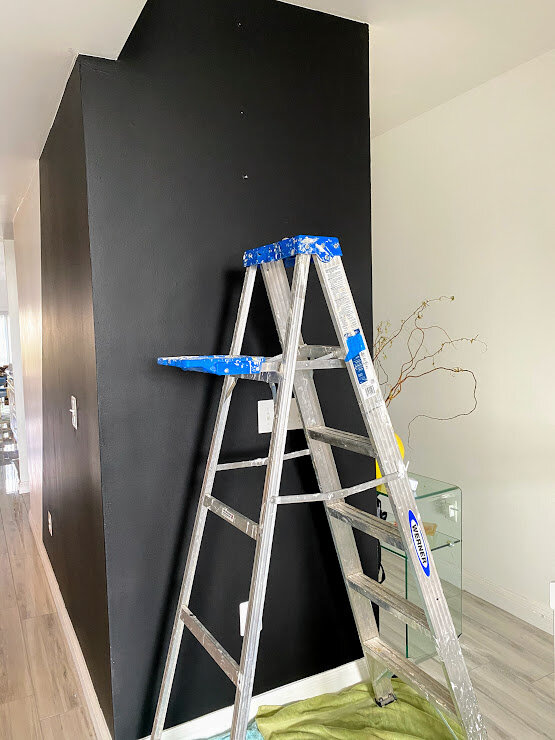
We have been officially submerged by the COVID-19 quarantine; and home decor projects are still helping to keep me sane! On a not so random whim, I decided to paint a black accent wall. I wasn’t sure about how I’d feel about it, but thankfully, I ended up loving it. It was a nice visual break from my otherwise all white walls, floors, and kitchen.
Of course me being me, I’m always looking for ways to add layers, texture, and pattern. For me, it gives that extra umph that otherwise monochrome walls do not. My original idea was to try out the really cool 3-D wall panel trend I’ve been seeing. Unfortunately, after taking some measurements and doing some price calculating, I realized the 3-D panel idea may be a bit too pricey for such a small wall. I also thought about wallpaper, but I knew I wanted to keep the black as a contrast to so much white.
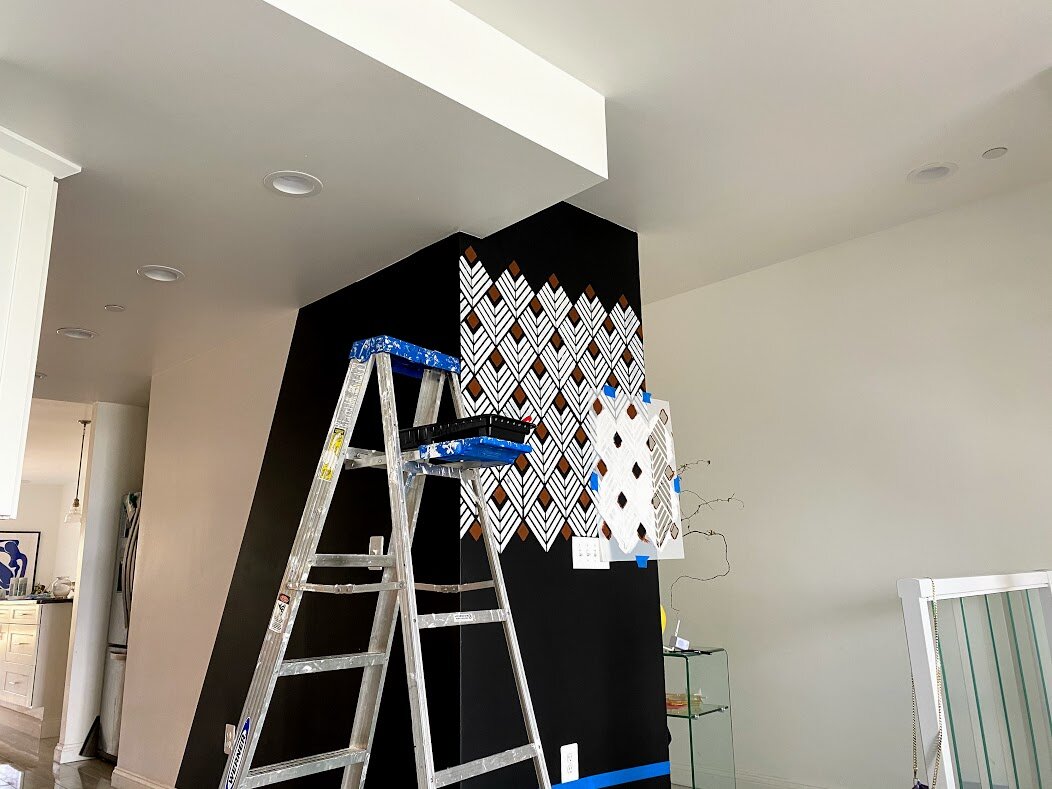
After re-visiting one of my favorite places for decor inspo- Pinterest of course- I decided to go with a wall stencil. If you haven’t heard of, or tried a wall stencil before, I highly suggest giving it a try, especially if you want to add a bit of pattern to a space! I previously purchased from Cutting Edge Stencils before and knew it’d be the perfect place to start. Their stencils are lightweight, sturdy, and re-usable. The site also has all the tools you’ll need to complete your project; and tutorial videos to help guide you.
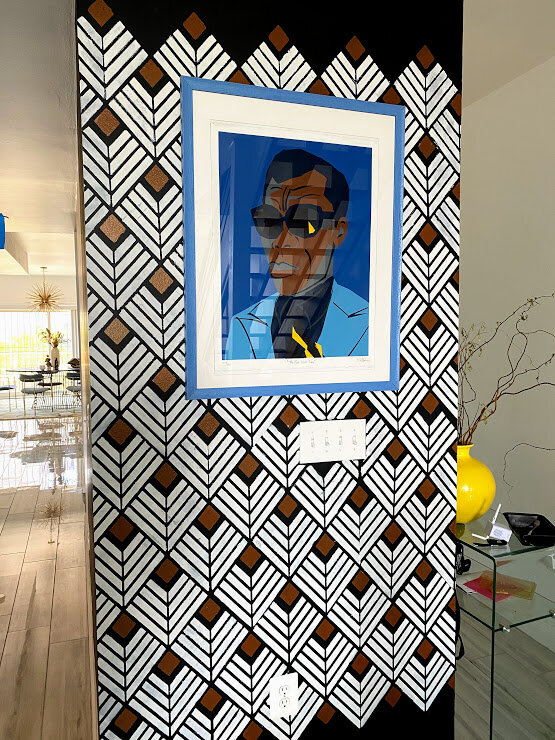
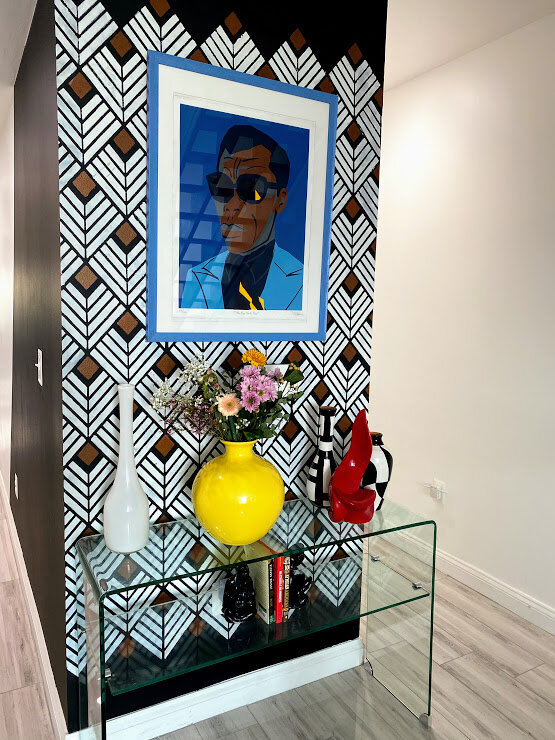
Without much searching, I found a stencil I loved. And even found some design inspo from the way someone else used the same stencil. I ended up going with the Deco Diamonds Allover Stencil which gives an awesome Art Deco feel. For my color scheme, I chose white and a great bronze metallic paint for accent. The existing black is a matte from Behr and the metallic bronze is “Hushed Copper” from PPG.


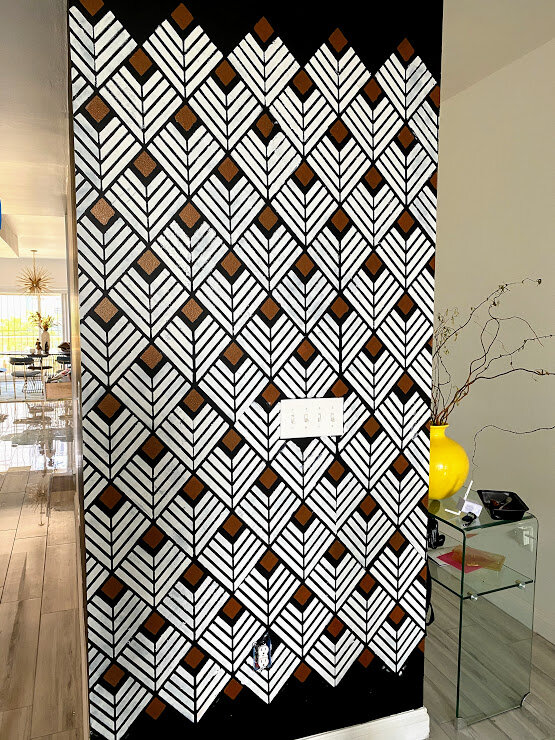
All in all, I’m pretty happy with how this stencil project came out. I think the black base, white pattern, and bronze accent go perfectly with the framed print of James Baldwin. I especially love it because it’s one of the first things you see when you walk up the steps into my home. I also love that it’s another part of my home that clearly represents by decor style and point of view: Bold, colorful, and lots of contrast!
wall Stenciling Tips
If you’re contemplating a stencil project- go for it. It’s super easy to do, especially if you’re working with a freestanding wall. Stenciling in corners is definitely a bit trickier, but you can do it with a bit of patience (easier said than done- I know!).

1. Now let’s get in formation.
The most important thing you want to make sure of when stenciling, especially if you have a stencil where precision and alignment are key for bringing out the design, is that your stencil is level. During a previous stencil project I realized how challenging it can be to ensure the stencil is straight, especially because I was completing this project solo. For this project, I had help when needed, but even an extra pair of eyes can’t always pick up subtle unevenness. I highly recommend getting the stencil level from Cutting Edge. It is small and attaches right onto your stencil to help you make sure it is straight and aligned. This is even more important once you get started because each stencil should align directly with the previous one.
2. Stick with it.
Make sure you have some painter’s tape to help keep your stencil attached to the wall while you’re working. You want to do your best to prevent your stencil from falling off and smearing your paint. It can also make it difficult to realign, especially when you’re in a corner. If you see your tape’s adhesive start to wear down, I recommend either adding more tape or just replacing with fresh pieces. Trust me, you’ll want to have all the help you can get.
3. Less is more.
Another important thing while stenciling is to make sure you’re not putting too much paint on your brush. Too much paint will bleed under your stencil and will apply unwanted paint to places it shouldn’t be. Make sure you have just enough paint to stencil where needed. It’s always easier to add a bit more than to clean up areas where too much paint has been used.
4. So fresh and so clean, clean.
If you use too much paint and mess up your design a bit, guess what!? It’s not the end of the world. All you have to do is get a tiny brush with a bit of leftover paint and clean up your design. Once you complete the entire space, areas that need fixes and touch-ups will be more obvious. Easy peasy!
Stencil Me in or Out!?
Are you up for staying inside the lines? Share your thoughts on this DIY and others you’ve done like it below!