
A DIY Diary: Quarantine Edition
Bench Please


Before moving into my home, I pinned and saved dozens of decor ideas and potential DIY projects. While there were many that were definitely out of my very beginner DIY league, there were quite a few that were great starting places for a new DIYer like myself. One of them was this DIY bench I’m sharing with you.
At the time, I wasn’t sure when or how I’d use a bench in my new home. But, I did know that I wanted to make the attempt. Luckily, I had a blank wall extending from my kitchen that I was having some trouble figuring out how to style. Why!? Uhhh, because blank walls are just not my thing. For some, the minimalist vibe is the desired look. As the complete opposite of a minimalist, leaving things blank feels boring, and most definitely unfinished. It took some time to settle on how to style this lengthy wall, particularly because it’s across from an already large island; and a pathway from the kitchen to the dining room. The challenge: high style, low obstruction. This DIY bench ended up being the perfect remedy because I was able to customize the length and width to fit the area. Any other piece of furniture would definitely prevent easy movement through the transit heavy area.
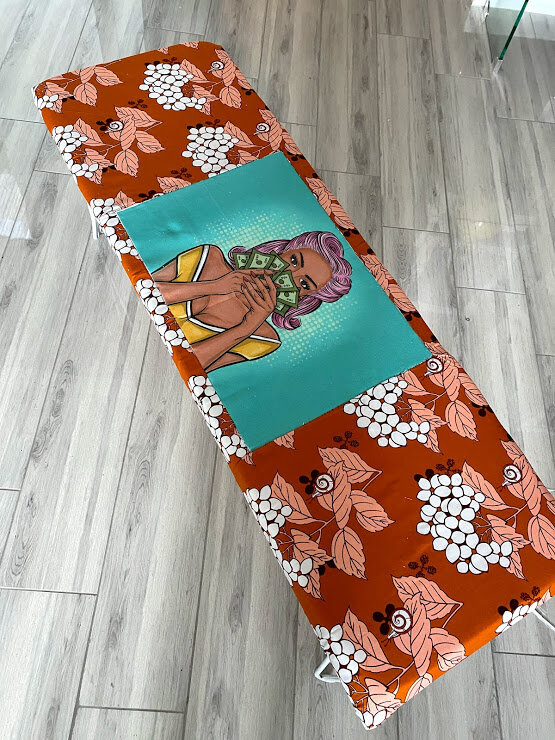
The blog I stumbled upon to uncover this awesome DIY, A Beautiful Mess, used a rug for the bench covering. After painting the wall a blush pink, I wanted to cover it with something that would provide both compliment and contrast. I didn’t have a rug in mind so I started exploring fabrics. One day while browsing Etsy (as I’m often doing) I came across one shop with Pop Art panels. I looovveee Pop Art! Once I found out the images were customizable, I was SOLD. Of course the maximalist in me had to take it a step further. I decided on a panel with a teal background, and paired it with a floral African print fabric with pink, white and burnt orange-ish colors.
Also, the most important thing you should know is this was SUPER EASY to make and not super expensive compared to some retailers All together, this bench ran me about $200, including all materials needed. Most of the materials needed, except the wood itself, I purchased from Etsy. This could easily be a much cheaper project depending on the materials you decide to use. Lastly, this bench was meant for decor purposes, if you want a bench that you or guests can actually sit on, you may want to go for sturdier options- thicker plywood, different legs, etc. Either way, if you’re in the mood to get creative and adorn your home with art of your own, I recommend giving this a try!
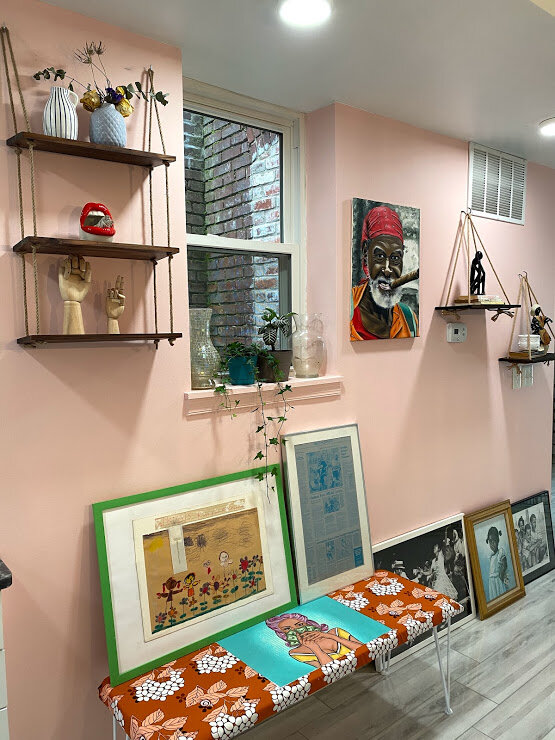
As seen here, the completed wall got a face lift with a muted pink matte paint, floating shelves, and a canvas print. It’s in store for another facelift, and I can’t wait to see how the addition transforms it. Of course, I’ll make sure to share the updated look!
DIY Bench Materials/ Tools
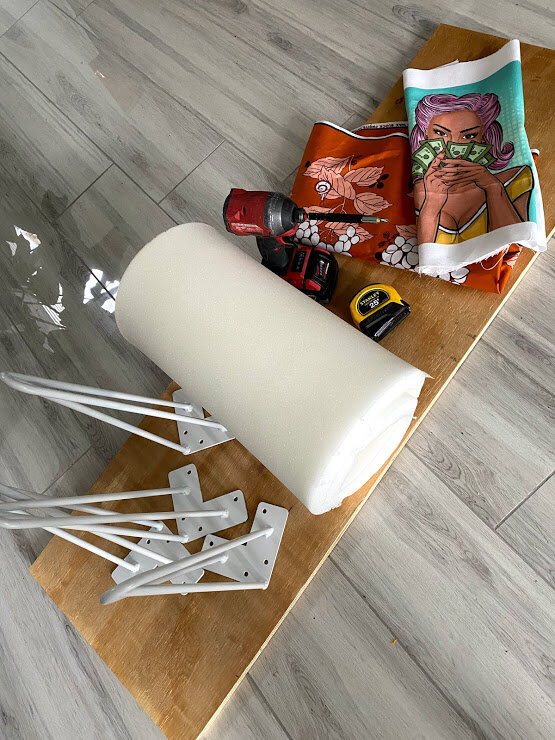
Tools:
Power Drill and Staple Gun
Material Used/ Cost:
Fabric (had to purchase a full 6 yards): $35.00
Pop Art Patch (including customization & shipping from UK): $17
(4) 16 in. Metal Hairpin legs (including tax + shipping from Canada): $62
1in. Foam Batting (purchased from Michael’s): $25
Spray Paint (for hairpin legs): $5
¾ Plywood (had this cut to 50” L x 16” W): $30
Screws: $5
Total Cost: $180
Instructions
Step 1:
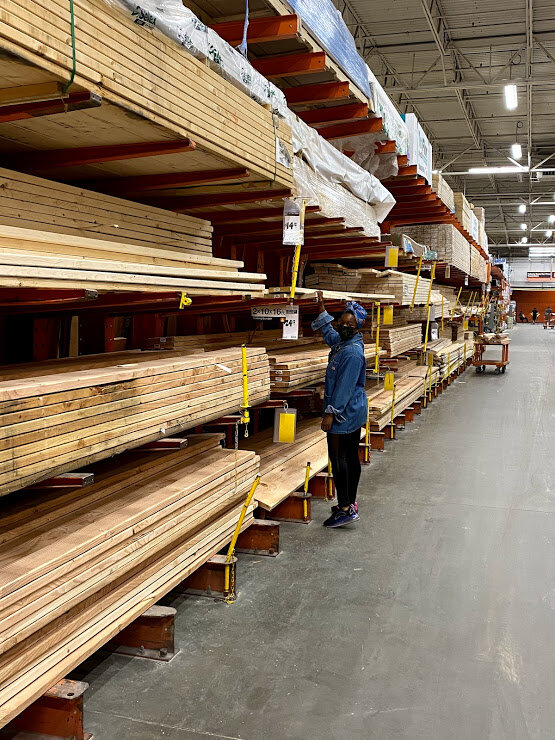
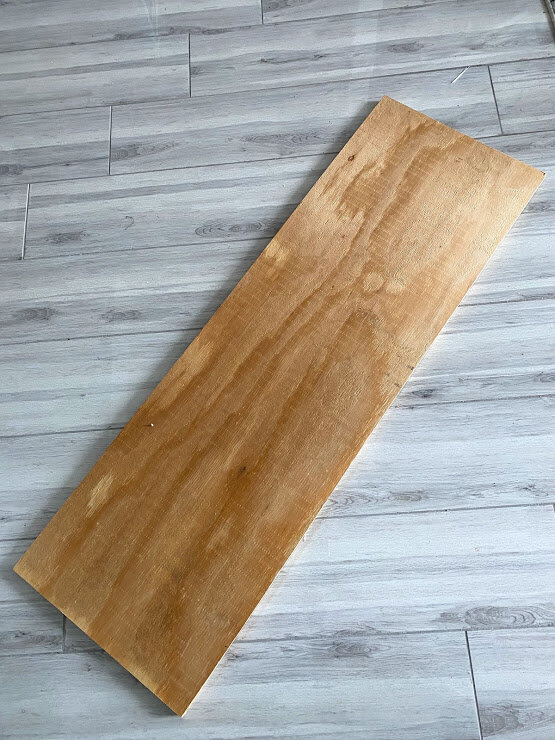
Cut your board (I used plywood from Home Depot) to your desired width and length. I highly recommend having this done at your local Home Depot or Lowe’s. You give them the dimensions, and they cut. No sweat needed!
Step 2:
Get your foam batting, or whatever you’re using to help add some cushion and form to your bench. Based on the directions I used for this DIY, it’s suggested to cut about ¼ in shorter on each side. I cut shorter only on the short edges and it still came out fine. Since I used fabric, I think cutting it to your exact board width and length would be fine. If you’re using a rug or some other covering that doesn’t have a lot of extra room to work with, I suggest cutting your foam shorter. Either way, make sure to give yourself an extra few inches on ALL sides of whatever you’re using to make it easier to cover your board and have enough to pull taut.

Step 1

Step 2
Step 3:
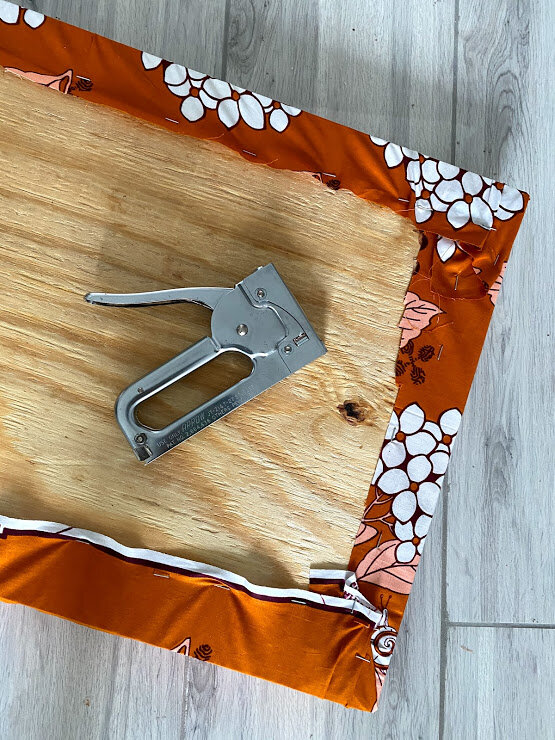
Once you’ve cut your foam to the desired length, it’s time to prepare to wrap your fabric and secure it. Because I used a patch, and wanted it to sit in the middle of the bench, I used sewing pins to hold the fabric in place to make sure my patch remained in the center. If you have enough fabric on all sides, you can start stapling on either side. I suggest stapling the long edges first, because they’re easiest; and then tackling the shorter edges and the corners. The corners you want to fold like you’re wrapping a present and secure with the staple gun as needed.
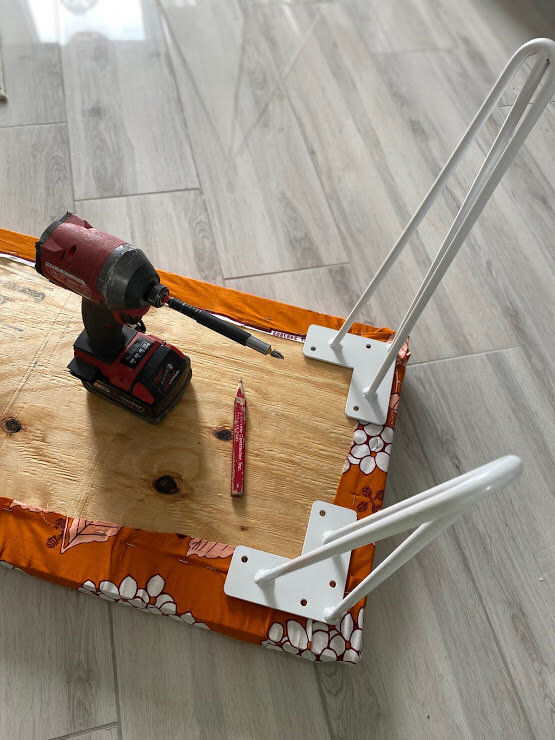
Step 4:
Get your legs and measure where you want them to go. I used hairpin legs from Etsy, and the seller provided directions to place them a 1 ½ in - 2 ½ in” from each edge. I used a measuring tape and a pencil to lightly mark where I’d need to drill my screws to secure the legs.
Step 5:
Screw or drill your legs in place and voila! Your DIY bench is complete!


Step 3

Step 4

Step 5
Bench What!?
Who knew a bench would be this easy! Would you attempt this project? Have you done something similar of your own? Share and Comment below!